
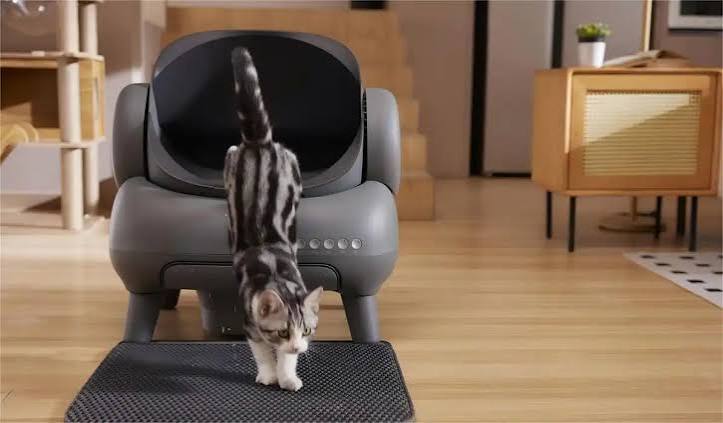
An automatic litter box promises an end to daily scooping, and for many busy households it delivers. The risk is the transition. Cats are deeply attached to routine, and a new machine that moves, hums, and smells unfamiliar can send a cautious cat looking for a quieter corner. Owners then conclude the product was a waste of money when the real issue was a rushed introduction.
This guide treats the switch as a project rather than a purchase. It covers preparation before the unit arrives, a slow introduction during the first week, and what to do if your cat refuses to cooperate. Follow the sequence and most cats accept a self-cleaning box within a couple of weeks, often with less friction than expected.
Before the Box Arrives
The best transitions start before unboxing. Set the stage so the machine does not feel like an intruder, and confirm your home can support it without daily hassle.
Choose the Location Carefully
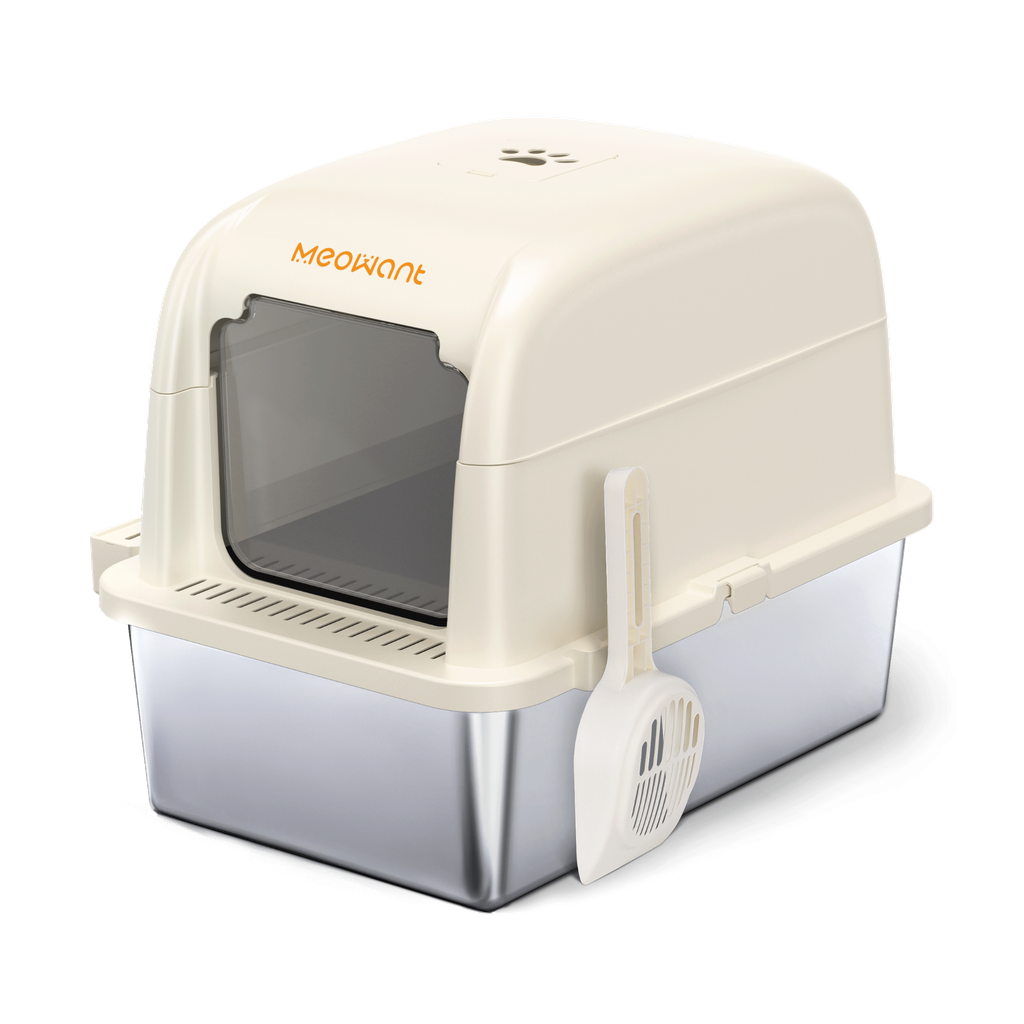
Pick a spot beside the current box, not across the house. The area should have a grounded power outlet, level flooring, and enough clearance for the drawer and the rotating or raking mechanism. Avoid carpet, which traps dust and makes the unit wobble. Avoid bathrooms where the floor stays wet, and avoid tight closets where the cycle sound bounces off the walls.
Keep the Old Box Ready
Do not remove the existing cat litter box on day one. The old box is your safety net and your comparison point. Plan to run both for at least two weeks. This overlap costs a little floor space but prevents the most common failure: a cat with nowhere familiar to go.
Check your litter supply as well. Automatic units work best with clumping litter that forms firm, low-dust clumps. Lightweight or crystal litter can confuse weight sensors or scatter during the cycle. Buy a bag of the same litter your cat already uses before switching brands; changing box and litter at once gives a cat two reasons to refuse.
The First Week, Step by Step
Slow is fast here. A cat that explores the machine on its own terms will accept it far sooner than one pushed inside.
Days One to Three: Power Off
Set the unit in place, plug it in only long enough to confirm it powers on, then switch it off. Fill it with the same litter your cat knows. Leave the old box untouched nearby. Let the cat sniff, step in, and dig without any movement or noise. Do not lift the cat into it. If curiosity fades, sprinkle a little used litter on top to make the new box smell familiar.
Days Four to Seven: Silent Setup, Manual Use
Keep the cleaning cycle disabled but start scooping the new box by hand instead of the old one. This shifts your cat’s routine toward the new location while nothing mechanical happens. Scoop the old box less often, but do not let it become unpleasant; a dirty old box can cause accidents that you will wrongly blame on the new machine.
Week Two: Introduce the Cycle
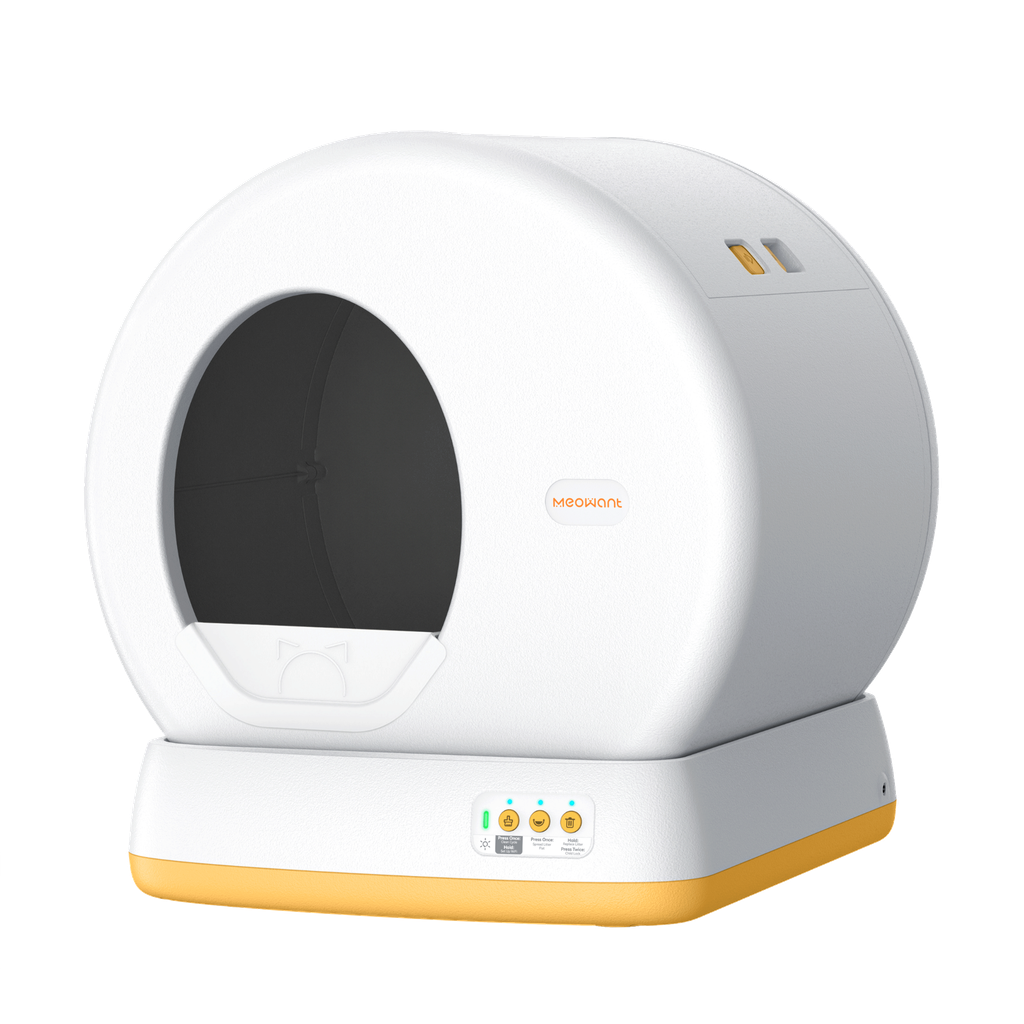
Once your cat uses the new box confidently, enable the automatic cycle. Run it while the cat is in another room for the first few days. Then trigger a cycle while the cat watches from a distance. Quiet, predictable motion is the goal. Models like Meowant’s self-cleaning boxes use sensors to pause when a cat approaches, which makes this stage calmer, but supervision still helps.
Only after a week of smooth cycles should you remove the old box. Keep it stored for a month rather than discarding it immediately, in case a setback requires a temporary return.
When Your Cat Pushes Back
Refusal is information, not stubbornness. Identify which part of the change is causing hesitation and remove it, then rebuild trust gradually.
Common Causes and Fixes
- Noise: place the unit on a firm mat, check that it sits level, and run cycles when the cat is elsewhere until the sound becomes routine.
- Small entry: some units feel cramped; confirm your cat can turn inside and consider a model with a wider opening.
- Litter change: return to the original litter and hold it steady for at least a month.
- Drawer odor: empty the waste compartment more often than the indicator suggests, especially in warm weather.
If accidents appear outside the box, do not punish. Clean the spot with an enzyme cleaner and add a temporary extra pan in that area while you troubleshoot. Punishment teaches fear, and fear makes acceptance slower.
Keeping the Machine Reliable
An automatic box only earns its keep if it keeps working. Maintenance takes minutes but prevents the failures that scare cats away.
A Simple Check Schedule
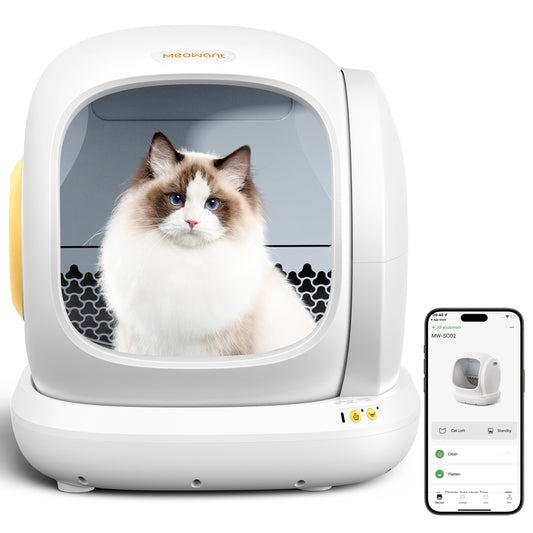
Empty the waste drawer before it fills, refill litter weekly, and wipe the interior and sensors monthly with a dry or barely damp cloth. Never spray cleaner directly onto sensors or motors. Check the manufacturer’s guide for filter replacement and follow it, since a clogged filter turns a sealed unit into a stale one. Keep the power cord out of reach so a curious cat cannot unplug the machine mid-cycle.
Listen during cycles. A new rattle or hesitation often means something is caught in the rake or the litter has clumped into a hard block against the drum. Address it early, before the unit stops mid-cycle and leaves waste exposed.

Living With an Automatic Box Long Term
The transition is only the first phase. A machine that worked well in week three can create new problems in month six if the household stops paying attention. Long-term success depends on a light but consistent monitoring habit.
Keeping the Routine Honest
Automation invites complacency. Because the box cleans itself, owners stop checking the litter level, and a unit running low on litter produces hard clumps that strain the mechanism. Set a weekly day to top up the litter, empty the drawer, and run a visual inspection. Choose a time you will remember, such as bin day or laundry day, so it becomes part of an existing routine rather than a new task.
Rotate a manual box back into service occasionally, especially during holidays or power outages. Cats that use both automatic and manual boxes tolerate interruptions far better than cats that depend on a single machine. Keep the spare clean and stored in a dry place, not buried in the garage under boxes.
Spotting Trouble Before It Spreads
A cat’s relationship with an automatic box can change quietly. Watch for new hesitation at the entrance, longer pauses before going, or increased visits with smaller amounts of urine. These can signal discomfort with the machine or a developing health issue. If the behavior shifts, switch the unit off and offer a manual box while you investigate. Never assume a cat is being difficult; in most cases, the animal is telling you something about the machine or its body.
Keep the manufacturer’s guidance for error codes and cycle resets within reach. A quick look at the manual often prevents an unnecessary service call, and knowing how to reset the unit calmly keeps the household from panicking when the cat is watching.
Patience Pays Off at the Box
A self-cleaning litter box can genuinely simplify life, but only after a patient handoff. Keep the old box, introduce the new one powered off, shift scooping gradually, and turn on the cycle last. Each step removes a reason for your cat to refuse.
If problems appear, treat them as clues rather than failures. Fix the noise, the litter, or the entry, and give your cat time. Within a few weeks, most households settle into a rhythm where the machine does the routine work and the cat barely notices it is there, which is exactly the outcome you want.